CleverMaps projects consist of views. Each view visualizes a certain theme using indicators displayed on a dashboard. In this part of the tutorial, we'll create our first dashboard and a view.
Dashboard
First, we will add an empty dashboard object because the following view references it. We'll complete this dashboard later.
{
    "name": "business_overview_dashboard",
    "type": "dashboard",
    "content": {}
}
Save this dashboard as business_overview_dashboard.json to the /metadata/dashboards directory and add it using addMetadata command.
After we've added the dashboard, it was automatically wrapped in an additional wrapper read-only object. This object consists of properites url, dumpTime, version and content, where content is the metadata object itself. If the object is not wrapped, it means it has not been added to the project yet. More info in the Dump structure article.
View
The first view is titled "Business overview". Each object has a common syntax part:
nameis used for the identification of the object (must be unique per project)typeidentifies the predefined type of the object in the metadata modeltitleis a human readable identifier of the object, it's used in the UI of the applicationdescriptionprovides a further description the object, it's usually shown on the question mark icon hover ( )
)
Each object type also has a specific content. We've chosen the shopping_cart icon and provided the link to business_overview_dashboard. The mapOptions object sets the correct zoom level and centers the map to the location with our data.
{
"name": "business_overview_view",
"type": "view",
"title": "Business overview",
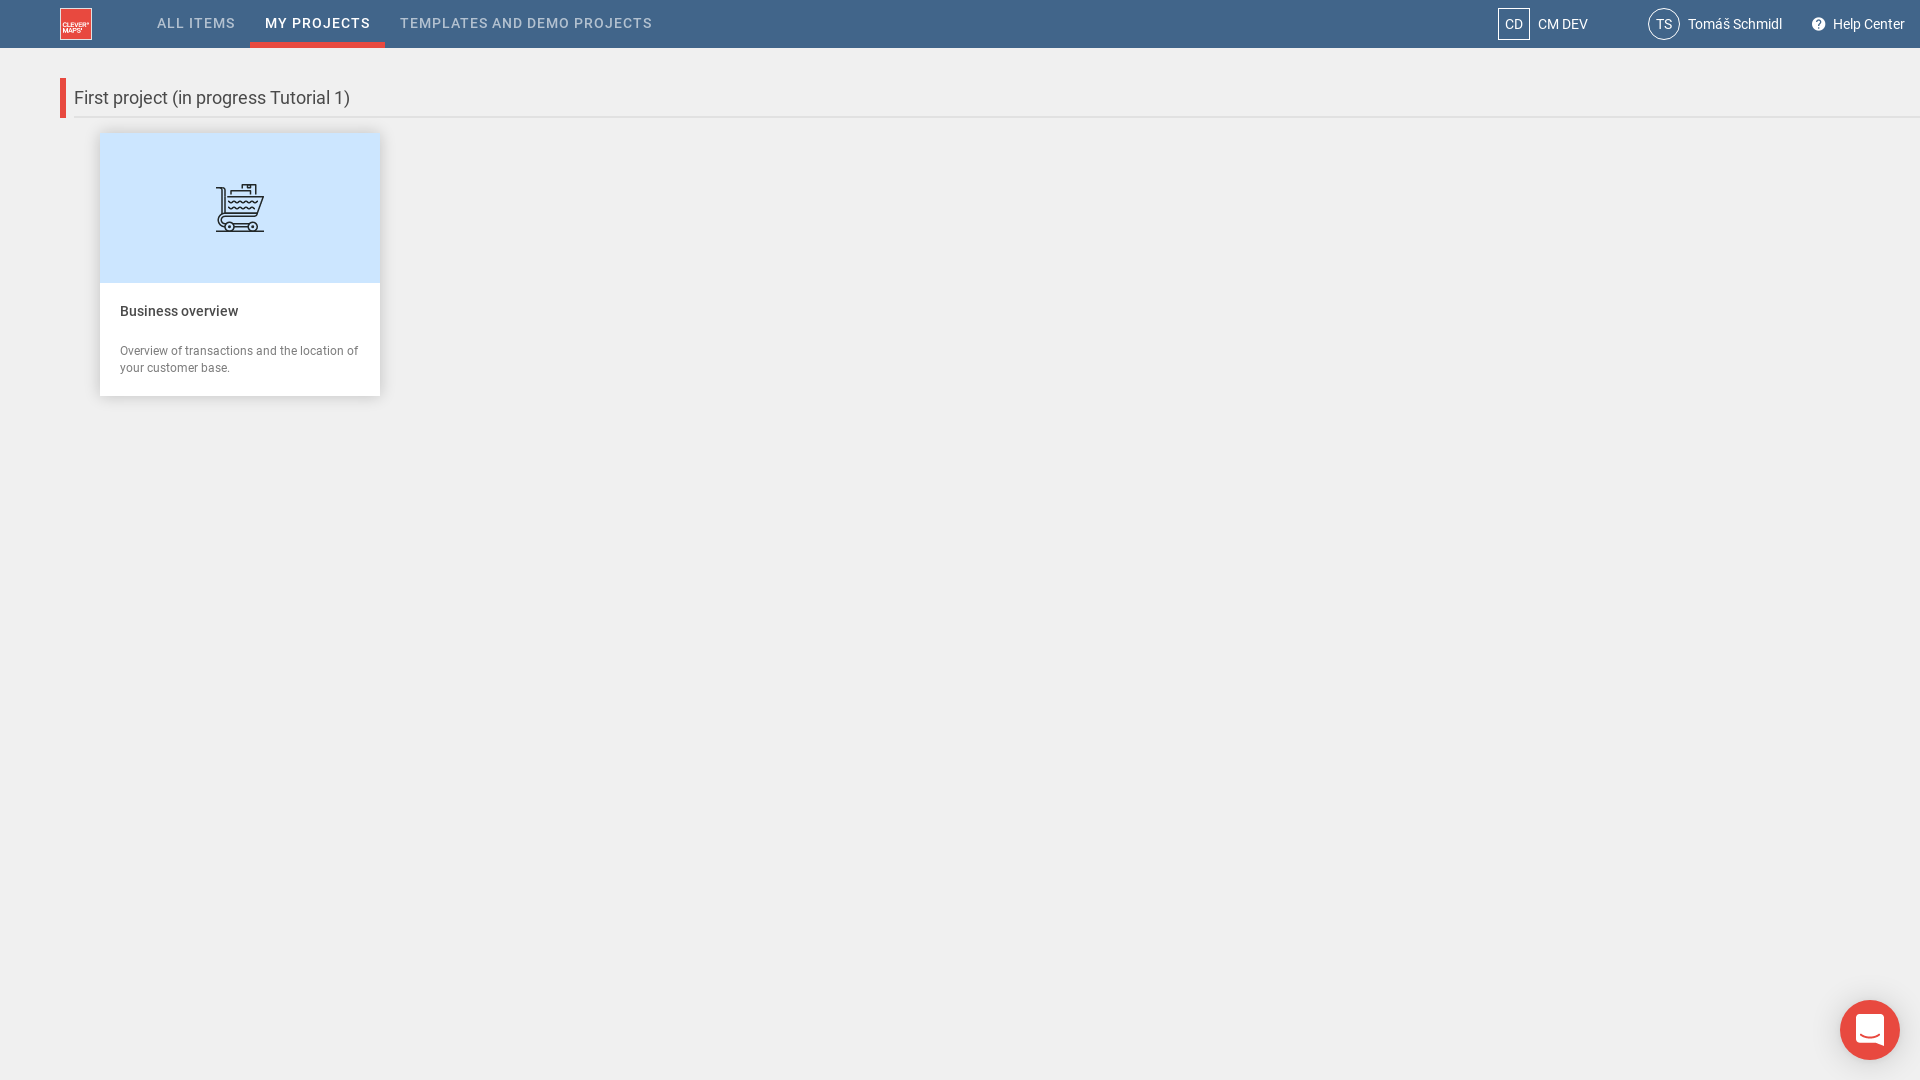
"description": "Overview of transactions and the location of your customer base.",
"content": {
"icon": "shopping_cart",
"dashboard": "/rest/projects/$projectId/md/dashboards?name=business_overview_dashboard",
"mapOptions": {
"center": {
"lat": 49.203,
"lng": 16.606
},
"zoom": 12
}
}
}
Save this view as business_overview_view.json to the /metadata/views directory and add it using addMetadata command.
Refresh the browser window, and open the project page to see that the view is now present in the project.
First view card on our project page
Click on the view card to open the view. We're greeted by the onboarding popup. You can close the popup. Now you can see the map, but our view is still empty.
![]()
![]() In the next chapter, we will have a look at some data which we'll put on the map!
In the next chapter, we will have a look at some data which we'll put on the map!